

Boost your photos with the Orton effect
A true aesthetic and pictorial dimension for your images
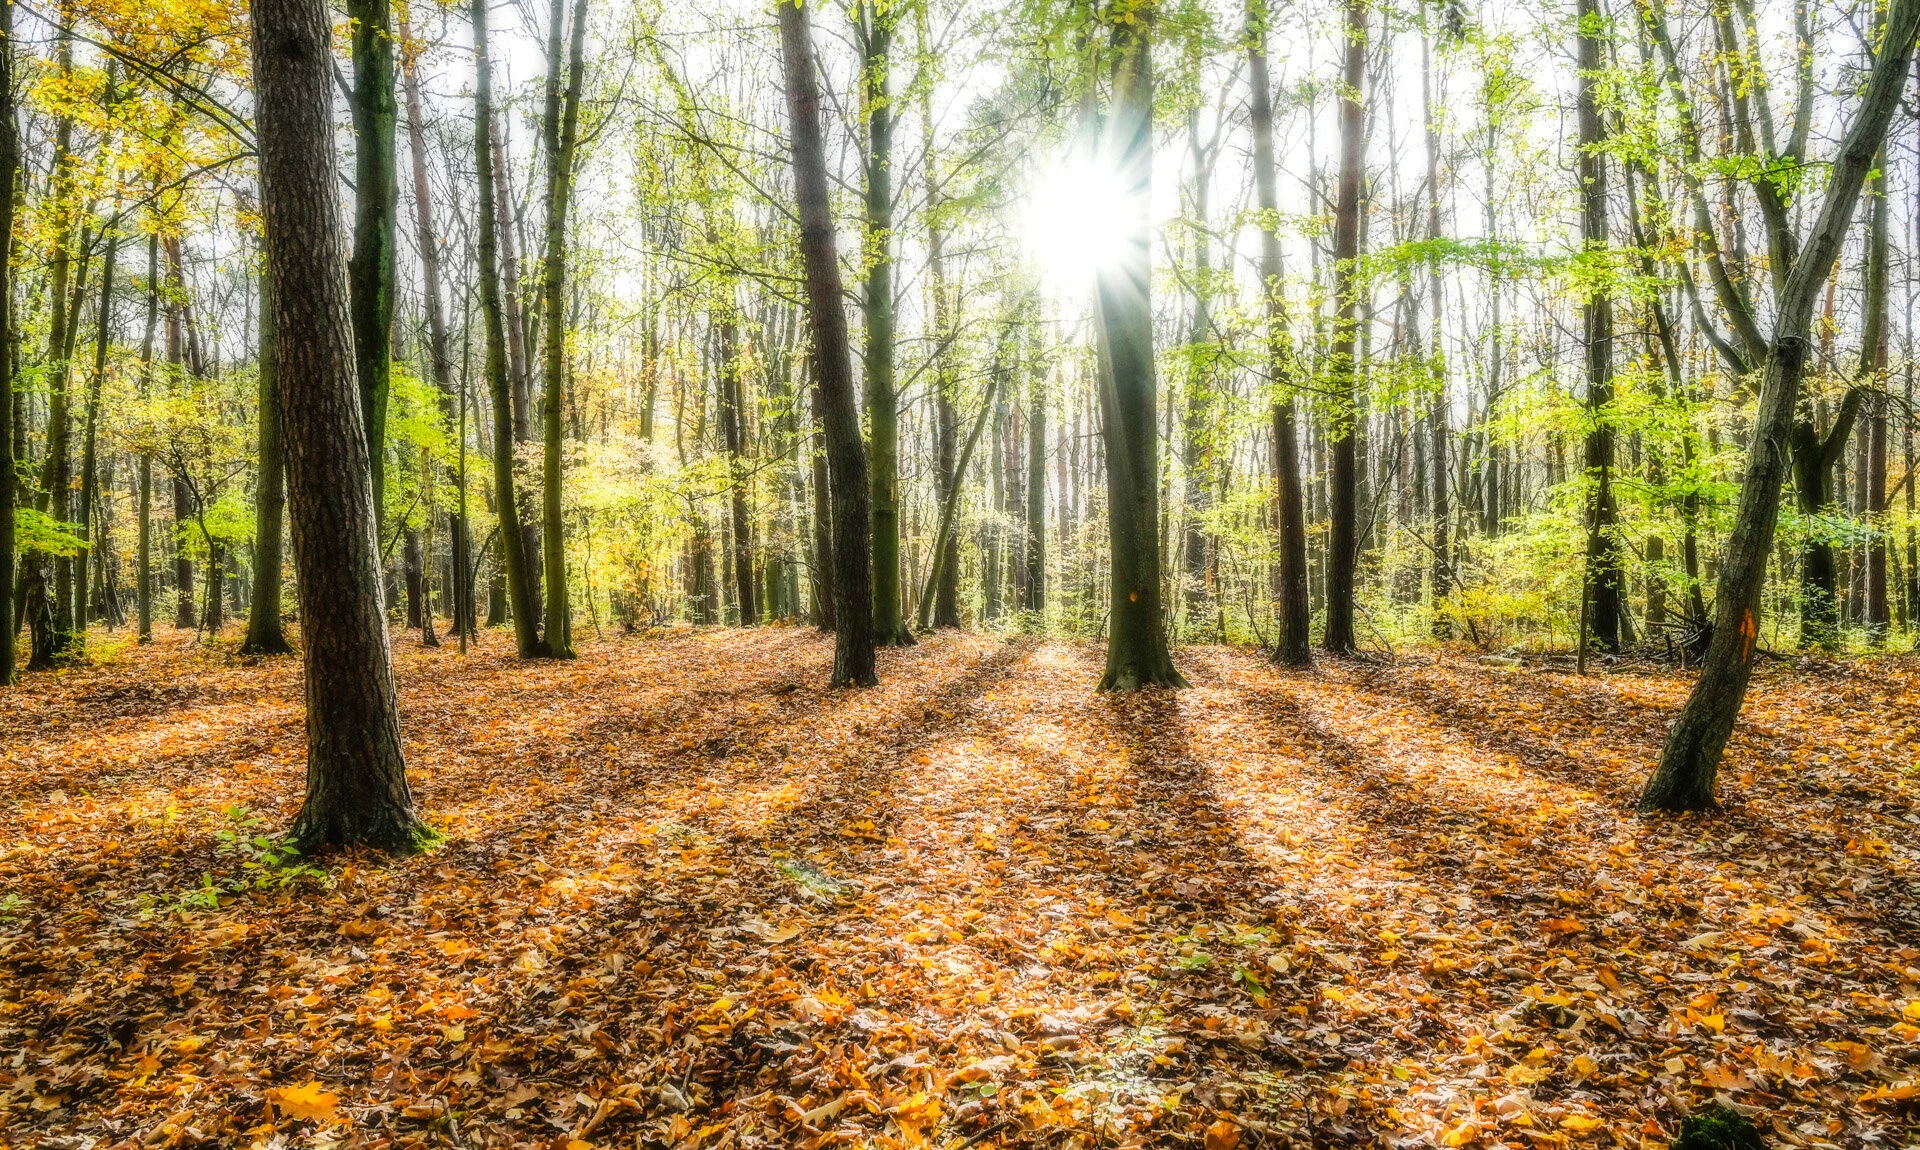
Photo of Villers Wood in Walloon Brabant
TheOrton effect is a photo technique that lets you enhance your images by giving them a "watercolor " effect.
His name refers to Canadian photographer Michael Orton, inventor of the process. A professional photographer for over ten years, he first came to prominence in 1992 with his images published in Once Upon an Island. He explains that the effect grew out of his research into imitating watercolors by simply placing the images out of focus.
TheOrton effect or "Orton Imagery" produces an original vision of nature, portraiture and architecture, giving the final work a soft, wispy and somewhat unreal atmosphere. Ideal photographic creations with impactful content for your communication.

Photo of White Sands, New Mexico - USA
The origins of silver-based photography
Digital photography didn't yet exist, and Michael Orton's only means of achieving his effect was to use film techniques to superimpose two or three slides.
One was used to collect detail information, with sharp focus, while the other captured colorimetry information.
For the images to work perfectly together, it was essential to work with a zoom lens and use a tripod. The first image was deliberately blurred and overexposed, while the second was gradually brought into focus, making it smaller. It was therefore necessary to compensate and zoom in so that, once developed, the two images would overlap correctly.

Photo with Orton effect of the Rouge-Cloître in Auderghem
"Orton Imagery in the digital age
Today, the use of digital cameras and professional retouching software such as Lightroom, Photoshop and Gimp have made it much easier to achieve the Orton effect and develop numerous creative variations.
First method
As with the original silver technique, you need to take 2 photos (the first sharp and the second blurred and slightly overexposed).
Then play with the layers in your retouching software to create that unreal painting effect.
Tip: for best results, use a tripod!
Second method
This is our preferred method, and involves working from a single photo; the Orton effect can be applied to virtually any image in post-production.

Photo with Orton effect in Madeira
Open the chosen photograph in Photoshop and duplicate the background layer twice (giving you a total of three layers).
Position yourself on the top layer and change the blending mode to "Overlay". The image is now brighter.
To ensure that the image retains its transparency, use the "Merge with lower layer" function, which you can find by "right-clicking".
At this point, there are two layers open in your retouching program.
The background layer is therefore a backup.Position yourself on the background layer and duplicate it again.
Work on the middle layer and transform it into a dynamic object so that you can return to the effects that will be applied.
In the Filter / Blur menu, choose "Gaussian Blur".
The value of this blur depends both on your aesthetic sense and on how the image is read. Some photographers prefer nuance, and therefore a value between 10 and 40. Others will opt for a value well above 40.The next step is to position yourself on the top layer and apply the "Product" blending mode. Don't panic if the image has darkened considerably!
There are several techniques for managing the pictorial effect.
For example, play with the opacity of the top two layers or change the levels of the top layer.
You can also go back to the Gaussian blur level of the middle layer to find the best balance.
Tip: choose a photo with a composition that suits this effect.
Let your imagination run wild and enter the pictorial world of Michael Orton! A cross between painting and photography, discover the Orton effect for images and photos that stand out from the ordinary.